Sanding is a task that you will invariably need to perform when you are working on typical home improvement projects. Whether you are painting a room, refurbishing an old chair, or even revarnishing a hardwood floor, sanding is often the first stage in preparing the surface. Whilst you can perform sanding by hand, this is often time-consuming. There are some cases where hand sanding will produce better results, but often the use of a power sander will be faster, more efficient, and produce a superior finish.
One of the best tools for automating the sanding process is a random orbital sander. A random orbital sander is a device powered by electricity (or sometimes air) with a spinning plate that will typically be covered by sandpaper. The plate spins in a circular motion but the axis at which it spins changes its angle constantly, producing the random effect. The result is a very even distribution of contact between the sander and the surface which makes for a very smooth finish, avoiding rough marks and abrasions.
As you can imagine, the sandpaper disc will eventually wear out and require changing. For this reason, most orbital sanders have a simple attachment method, such as the hook and loop system, allowing the sandpaper discs to be replaced. Having said that, there are some intricacies to consider and the process does vary slightly between different types of the sander. To make things easier for you, we have put together a comprehensive guide detailing how to load sandpaper on a random orbital sander.
Step 1: Get Your Sandpaper or Sanding Disc
First of all, you should check your orbital sander instructions for the type of sandpaper or disk that you need. Typically this will either be a circular sanding disc with a “hook and loop” attachment system, or it will be a sheet of sandpaper.
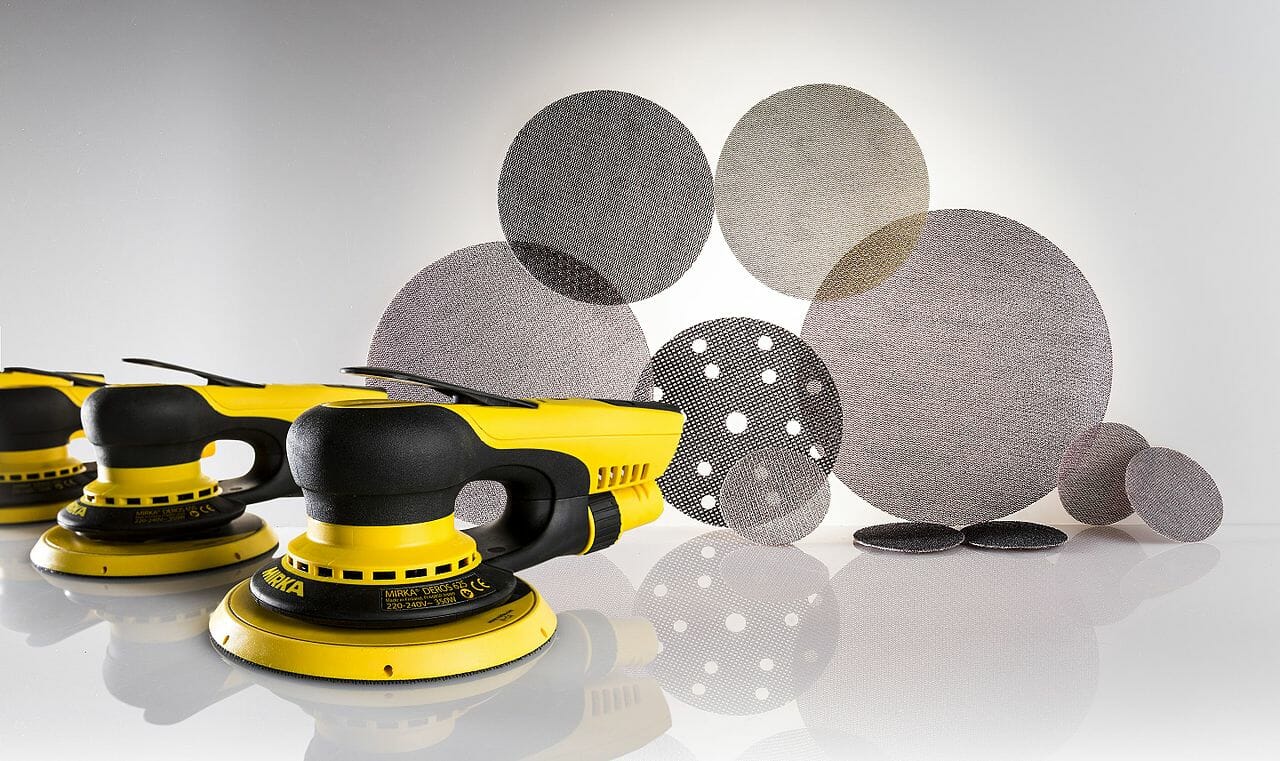
It is important to check which type your sander uses as well as the sizes and other specifics. With sanding discs, there will be a particular size disk that fits your sander as well as a certain number of holes in the disk, that allow it to fit correctly onto the sanding plate. If you don’t have the original instructions for the sander then you can look the model up online, find the manufacturer’s specifications and this will confirm the size in inches and the number of holes on the sanding discs. If you have a sheet sander, then you should be looking for the sanding sheet size that fits the sander.
Sanding discs also come in major paper, film, or cloth backing – with paper backing being the most common and most affordable. The film backing disc is recommended for wet sanding and a more consistent finish, while the cloth or fabric backing is highly recommended for sanding heavy-duty projects as it is tear-resistant.
Step 2: Attach Your Sandpaper or Sanding Disc
Hook and Loop
Hook and loop sandpapers have abrasive material backing similar to Velcro. Sanders which support hook and loop methods of attachment have backing pads with microscopic hooks on their surface, while the hook and loop sanding discs have corresponding tiny loops on their backings.

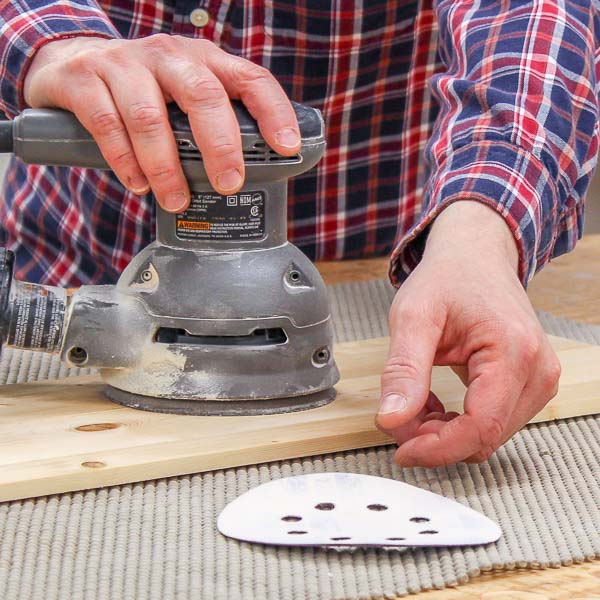
To attach a hook and loop sanding disc to your sander, face your sander upside down and simply place the surface of the disc – which has the tiny loops – on the backing pad, and employing pressure, press both surfaces together.
This creates a strong bonding of both surfaces which can be peeled back whenever you want to change sanding discs.
Pressure Sensitive Adhesive (PSA) or Stick On
To attach a PSA disc to your sander; turn over your sander so that the backing pad is facing up. Peel the paper or nylon liner attached to the sanding disc to reveal the flat adhesive surface, then slap on the sticky surface on the backing pad.
You know the disc is securely fixed if it is not protruding from the sides but perfectly sits on the backing pad.
For backing pads with dust collection holes, be sure to get sanding discs with a similar number of dust collection holes – usually 6 or 8 holes – as the backing pads. Properly align the holes on both surfaces together to aid in fixing the discs correctly.
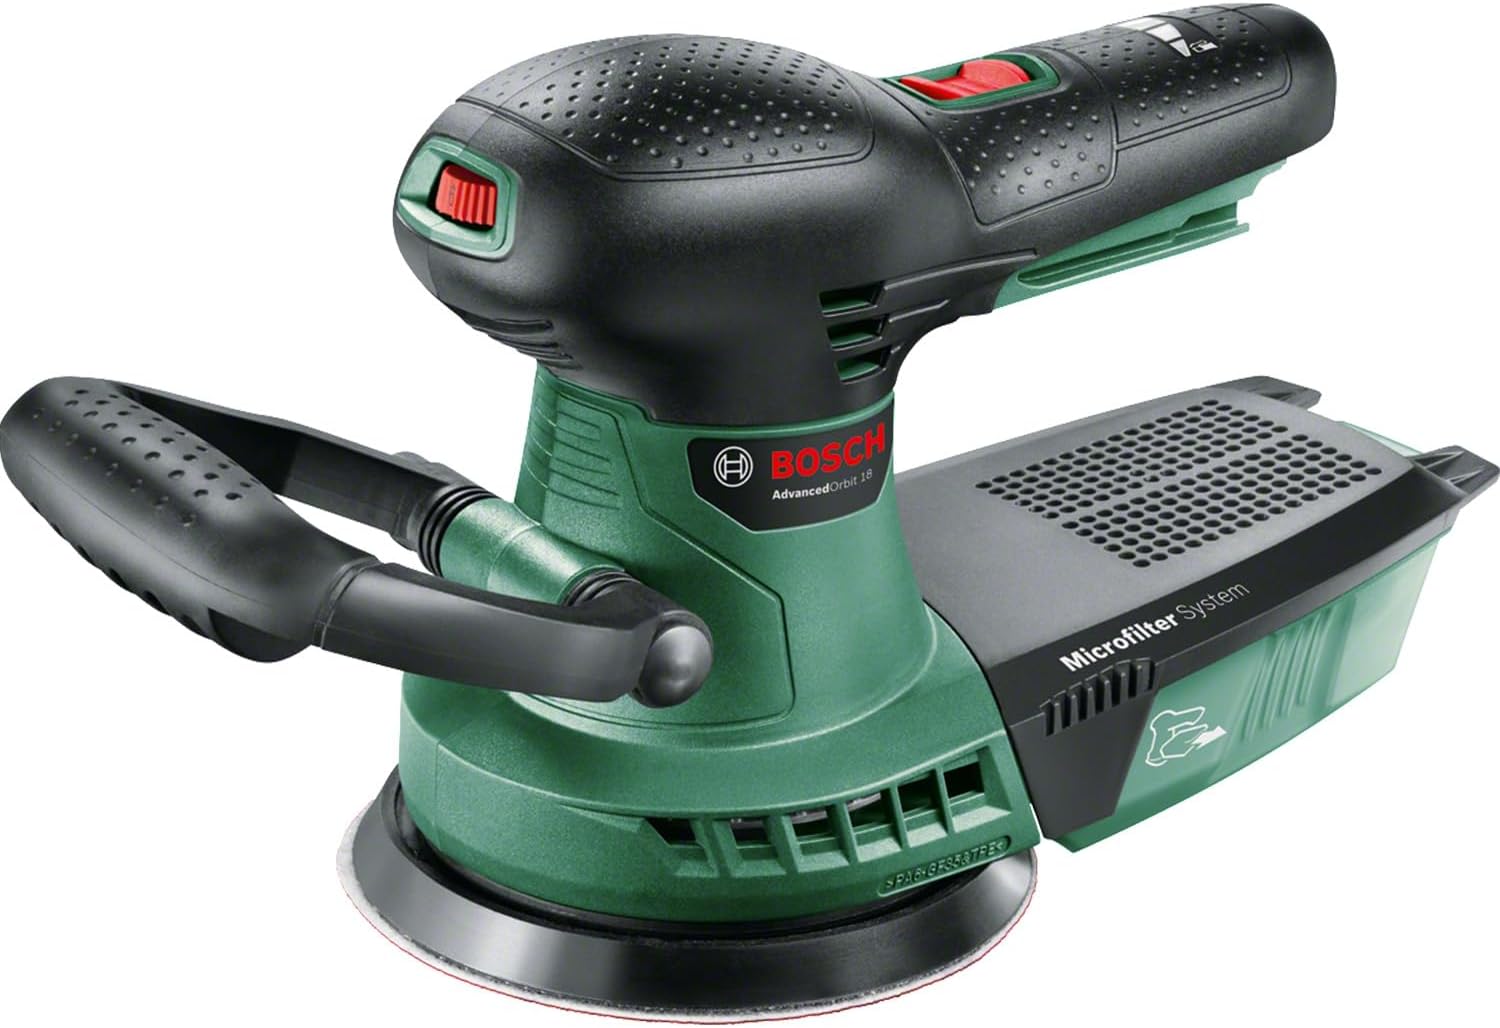
Random Orbital Sanders usually come with dust portals attached to them which serve as pathways for sawdust. They also come with little dust collectors to fit into the rims of these portals – you may fix your vacuum instead.
The holes on the sanding disc suck up the sawdust when you are sanding, and the dust collector collects the dust. This keeps the dust from clustering in your sander.
Sandpaper sheet attachment
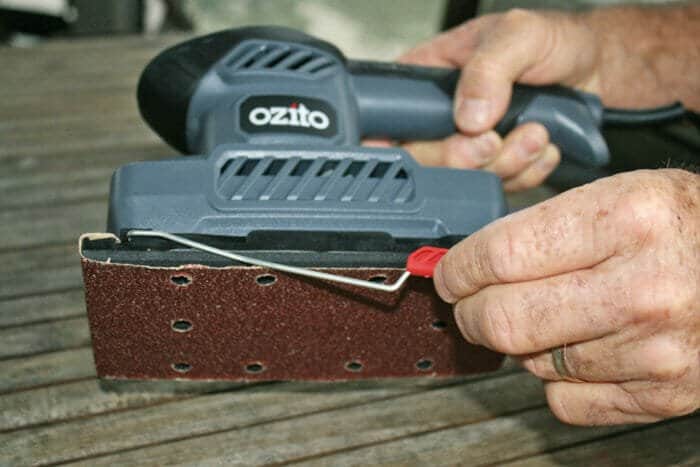
If you are using a sheet sander then the sandpaper sheet will likely fold over both ends of the sanding plate and then a clip or level will need to be moved into place, securing the sandpaper sheet to the device.

There you go! All set and ready to use. Now you can effectively sand that piece of work. For more sanding guides and tips, or if you’ve questions about sanding in general, don’t hesitate to reach out to us. We are available 24/7.


