How to Paint Wood Paneling
DIY Guides

Dynabrade
Dynabrade (59020) Dynorbital-Spirit 5" (127 mm) Diameter Random Orbital Sander, Non-Vacuum | 3/16" (5 mm) Diameter Orbit | 12000 RPM Pneumatic Motor
4.09
New
$ 203.15
TCP Global
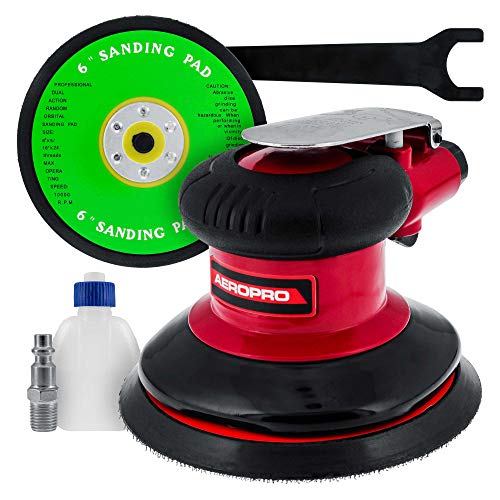
TCP Global Professional Heavy Duty 6" Dual-Action Random Orbit Air Palm Sander with Both PSA and Hook & Loop Backing Pads - Orbital Pneumatic Sanding Disc Sander - Automotive Body Shop, Woodworking
4.79
New
$ 69.99

TCP Global
TCP Global Professional Heavy Duty 5" Dual-Action Random Orbit Air Palm Sander with Both PSA and Hook & Loop Backing Pads - Orbital Pneumatic Sanding Disc Sander - Automotive Body Shop, Woodworking
4.79
New
$ 64.99
Dynabrade
Dynabrade (59020) Dynorbital-Spirit 5" (127 mm) Diameter Random Orbital Sander, Non-Vacuum | 3/16" (5 mm) Diameter Orbit | 12000 RPM Pneumatic Motor
4.09
New
$ 203.15
TCP Global
TCP Global Professional Heavy Duty 6" Dual-Action Random Orbit Air Palm Sander with Both PSA and Hook & Loop Backing Pads - Orbital Pneumatic Sanding Disc Sander - Automotive Body Shop, Woodworking
4.79
New
$ 69.99
TCP Global
TCP Global Professional Heavy Duty 5" Dual-Action Random Orbit Air Palm Sander with Both PSA and Hook & Loop Backing Pads - Orbital Pneumatic Sanding Disc Sander - Automotive Body Shop, Woodworking
4.79
New
$ 64.99