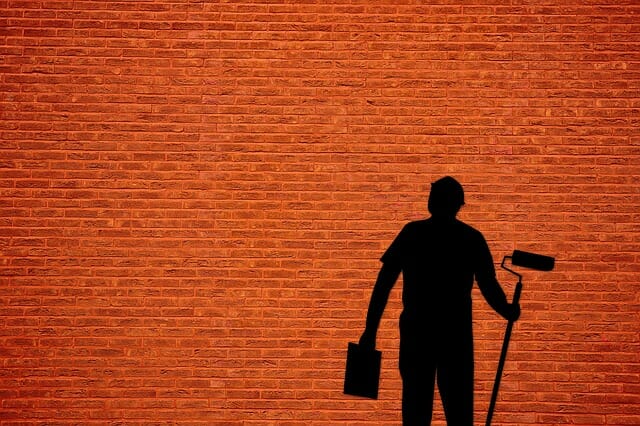
Thinking of a room makeover? Know how to prepare a wall for painting and make sure to remove any imperfections on the surface. Get rid of outlets, plates, and cracks that can be a bother when you started splashing the colors. We all know that paint can’t cover dirty and rough surfaces, that’s why prepping a smooth wall is crucial. It will also make things easier, cleaner, and faster.
Sometimes a wall can be uneven due to holes or because of the several layers of paint applied to it in the past. You need the right tools to smoothen the façade. You’ll need a filler, scraper, sealant, knife, and brush. It would also be beneficial to purchase an orbital sander to sand over the surface of the wall. It’ll help iron out any imperfections. (See our guide to help you pick the best orbital sander for this task).
What You Need:
These are easy wall painting tools and materials you will need to prepare your wall for painting.
Main Tools
- Dust sheets, canvas, or over-layered newspapers
You need to protect your floor, carpet, or other sidewalls from getting tainted.
- Filler and filling knife
Got holes? Place in a filler to smooth the walls. You can either buy a powder mix or a ready-made solution.
- Basecoat
A basecoat can cover cracks and other imperfections. It’s made for bigger projects.
- Sandpaper, sanding block, or orbital wood sanders
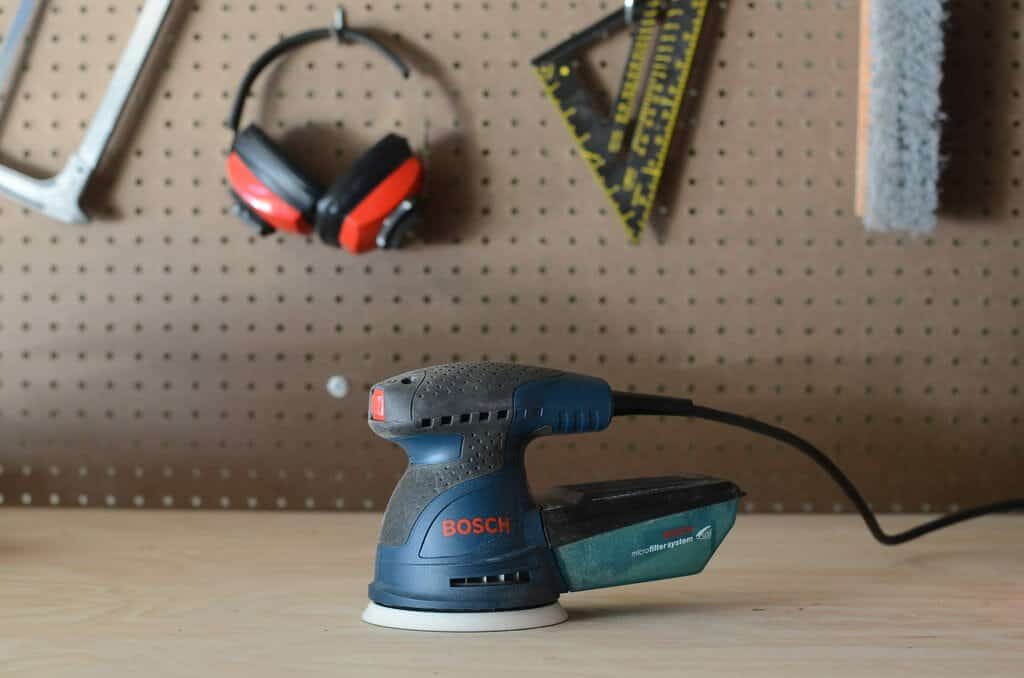
Sandpaper is ideal for small projects, and you can have a sanding block to hold it down. Meanwhile, a random orbital sander is for ease when smoothing the wall. Sanding plaster walls with it can give the surface a cleaner and flatter finish.
Other materials
- Soap and water
- Masking tape
- Bucket
- Washcloth or sponge
- Vacuum and dusters
- Goggles
- Dust mask
- Gloves
- Safety suit
Guide to Preparing Your Wall for Painting
Before preparing the wall, you must organize the room first. Place protective sheets or paper to avoid unwanted splatters. These little How To’s will show you how to get ready for your DIY project.
- Gear yourself up
You need to wear the proper attire when conducting home improvement. That means you have to suit up and wear goggles, gloves, and a dust mask. It can protect you from chemical odors, dust, dirt, and grime that can fill your airways and your lungs.
- Clear the room
Remove the furniture and other furnishings that you don’t want paint on it. Place dry sheets or newspaper on the floor and different wall sides you don’t want any splatters on. Place tape to secure the sheets.
- Clean the wall
If there are any hooks or outlets, remove them for painting. You can mark their location when you want them back in place. Dust the wall and use a bucket of soap and water to wipe the dirt off. Remember, painting a grimy wall won’t work because the coat won’t stick to the surface well.
- Smooth the walls
If you have too many cracks and want to save time, you can have your wall covered with a basecoat or plaster. You can place a sealant afterward to smooth your wall. You can also remove any imperfections with a knife or scraper. If there are holes in your wall, put fillers and let them dry.
- Sand walls
Sanding walls before painting makes the job a lot easier. You can use sandpaper attached to a block and do manual work. But then, it’s better to own the best orbital sander larger and various home projects other than walls. Dewalt, Black and Decker, and Bosch are great for home use.
Make circular motions when you sand your wall. It will create more dust so clean up and vacuum all dirt particles.
Now, you know how to prepare a wall for painting. After doing the steps above, it’s time to gear up for your paint job. You need the final stages to complete your DIY project.
Start Painting Your Walls!
When you’re done prepping your wall, gather your easy wall painting tools. These can be any of the following:
What you need:
- Tape
You need to tape around the ceiling and floor edges to avoid unwanted leaks from the painting. You can use this to place your dry sheets too.
- Brush or rollers
If your wall is high, it’s best to use a roller to reach the ends of the wall. You can finish it off with a brush if you’ve missed some spots.
- Paint
Choose a paint that can make your home big, bright, and better.
- Primer
You need a good undercoat (Primer) that can be adhesive for your paint and to prolong its life and durability.
Other materials:
- Paint guard
- Paint pad or tray
- Stirrer
- Can opener
- Ladder
Guide to Painting Your Walls
Before you begin, check whether you have enough paint and cover for the room. Have an excellent light source and ventilation in your place. You can suit up with your coveralls and protective work boots if you don’t want the paint spilling on your clothes.
- Put primer on the wall
It has been long debated whether it’s ideal first to have a primer than painting on hand. If you have drywall, it’s best to use one. Wood walls might be a problem because primers take too long to dry, but the coating will make your walls prettier and durable.
- Prepare paint on the tray
Pour paint on a pad or tray to make things easier. You need to have it a third full before dipping your brush or roller. You can also stir the paint for mixed colors.
- Painting
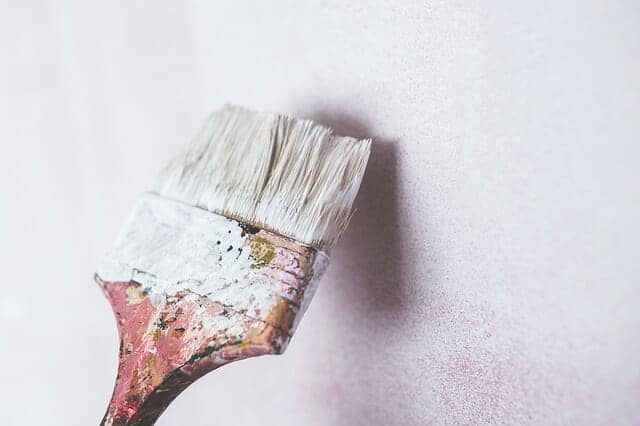
Start dabbing on the corners especially near the ceiling. Use rollers or large paintbrushes for the whole space. You can start brushing the tips and missed marks with smaller brushes. You can coat the wall with paint a couple of times to get the right hue and thickness.
- Leave to dry
When you’re done, leave your wall to dry. Don’t organize your furnishings back if the whole is too wet. When it’s dry, remove the markings, sheets, and tape.
- Assess the wall
Have you missed anything? Assess the corners of your ceiling and floor edges, tape, and shade to see if there’s something amiss. Was there a side you did not paint? Did the paint become flaky when you remove the tape? You might be painting again if that’s the case.
That’s how to prepare a wall for painting. Easy, right? Prepping a wall for painting isn’t that hard once you have the proper materials and methods correct. Some can even finish it for half a day! The most important step is to even out the surface before applying paint. Coats, sandpapers, and random orbital sanders are your BFFs for this home project!

HYCHIKA BETTER TOOLS FOR BETTER LIFE
HYCHIKA Detail Sander, 14,000 OPM Compact Electric Sander Tool with 12 Pcs Sandpapers,Efficiency Dust Collection System,Suitable for Tight Spaces Sanding,Polishing,Removing Paint in Home Decoration

Makita
Makita BO5041 5" Random Orbit Sander, Variable Speed

DEWALT