The refurbishment of your old wooden spindle chair is a great way to improve the look and feel of your home. With a little DIY knowledge, some planning, and a little research to make sure you have the best orbital sander for the job, you can make your old tatty chair look brand new in no time at all.
Refurbishing old furniture is generally done for one of two reasons. The first is to polish up an item of pre-existing furniture that has appeal but doesn’t really match the aesthetic of the rest of your home. It can be something inherited from the previous owner or a keepsake in the family.
The second is as a hobby – transforming something from battered, dilapidated, and worse for wear into something beautiful and stylish is a satisfying process. Depending on how deep into this hobby you get, specialist knowledge can come into play that involves intensive learning under someone more experienced. For the basic skills, however, these can be practiced and picked up in your own home without too much difficultly with access to relatively basic tools and a supply of wood furniture as practice.
A couple of good sources of furniture to practice on are charity shops – also known as thrift stores depending on your location – and car boot sales. You will want something that is potentially a little worse for wear while not being damaged to the point of being better used as firewood. In the digital age, sites like Gumtree and Craigs’ List are also good sources of wood furniture that people are either selling cheaply or giving away for free that can be a good source of practice. Facebook’s Marketplace feature allows you to keep an eye out for sellers within your vicinity, which will save on the cost of travel. Wherever you get your dining room chair from, don’t be afraid to ask questions of the seller such as how old the chair is, what it is made from, and if any work has been done on it previously such as the old finish.
Regardless of where you get the furniture from, the process of refurbishing an old wooden chair is surprisingly uncomplicated and the skills used are transferrable to the repair and refurbishment of other types of furniture as well.
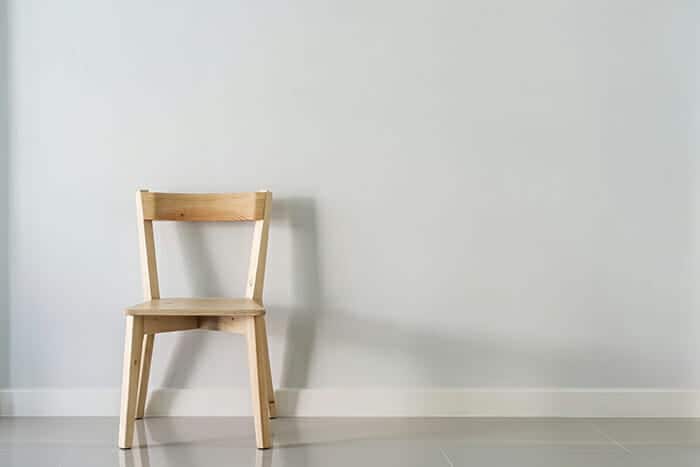
01 – FINDING AND CHOOSING A CHAIR
When it comes to finding a chair, generally if you can get your hands on it and properly examine it, this is your best option. Photographs only tell so much. Getting a look at something with your own eyes can reveal details that good lighting can otherwise hide. We suggest going for a chair that is robust, particularly for your first attempt. As you get more experienced at the process of refurbishment as written here, you can branch out into different styles but to begin with, go for something simple as a first project.
You also don’t have to always limit this to chairs. Tables, cabinets, wardrobes – generally speaking, if it is wood, this process applies at least in part, although there will be some variation depending on the condition of the wood. For now, however, we will focus on how to refurbish wooden spindle chairs.
02 – PREPARATION
Preparing the chair for the rest of the refurbishment process is probably the most involved stage. To begin with, you should clean the chair down to remove any residual dirt and dust from where it has been stored, particularly if it has been exposed to the elements. If there is any mold on it, this will need to be treated before you do anything else to remove its foothold.
We recommend using some TSP (trisodium phosphate) mixed with warm soapy water. TSP is a cleaner, degreaser, and deglosser all rolled into one, meaning that you don’t need to specially purchase a handful of bottles when you can get one that does it all.
Once it has dried, the next step is sanding. For this project, using an orbital sander to remove any splinters or roughness due to age is a good energy-saver when it comes to refinishing. Orbital sanders can be used in a linear fashion like other sanders, although the motion of the tool itself is circular no matter what direction you are moving it in – this increases its effectiveness. Remember, when using a mechanical sander, you should be wearing a dust mask and hearing protection. We particularly recommend Best Orbital Sanders as your go-to when looking to purchase this tool.
Given the added complexity of spindles, meaning that you can’t get a sander between them, this is where you will have to resort to manual sanding. We recommend using sandpaper with a grit that is either 180 or 220. This is the same medium grit that you can use with the orbital sander for stripping off the old finish.
Once the chair has been completely sanded down both by hand and with the power sander, the next stage is to give it a thorough once over and see if there are any gouges or nicks in the wood that need filling in. We suggest doing this with putty. This is to make sure that you’ve got a smooth surface over the entirety of the chair, ready for you to proceed with the priming and painting.
03 – PRIMING
In terms of primer type, this may require a little research. That’s before you even get on to the different brands available. Primers can be oil-based, water-based, or gel-based. Water-based primers – also known as latex primers – are fast drying and flexible when it comes to applying them to a given surface. When it comes to cleaning, soap, and water are all you really need. They are ideal for preparing the softer woods for work. They are also optimal in terms of eco-friendliness as they contain a low amount of VOCs. VOCs refer to volatile organic compounds.
VOCs are gradually leaked out by some types of primer and paint. In the long-term, they can cause negative health effects and some are even carcinogenic. Oil-based primers are particularly versatile and can be used to seal up the wood, effectively removing the pores in the wood from the equation. They also stop the tannins found in the wood naturally from leaking through. The downside is that they are particularly slow to dry. On top of that, they also release a high amount of VOCs over time, making them particularly sub-optimal for use on internal furniture.
Shellac or gel primers are the best when it comes to blocking stains from showing through. They are quick-drying and adhesive to just about any surface you can think of, which is ideal. However, they do give off an excessive amount of fumes. If you do decide to use shellac primers, do so outside. If you absolutely have no other option except to use them inside, make sure that the room is exceptionally well-ventilated and don’t spend any more time in the room working than you have to. It is recommended to do one coat of primer before waiting for it to dry. If it appears to be transparent once it has dried, do another coat. You can apply a primer using either a roller or a brush. While rollers allow you to cover a larger area in one go, brushes offer a higher degree of control.
04 – PAINTING
This is the creative part – at least in terms of picking a color. Depending on the room that the chair is going in, you may want to opt for natural color or you may go for something brighter and bolder. Here is where the choice really is up to you. We recommend using only a paintbrush for this stage as it will allow you a better degree of control. We suggest only loading the paintbrush halfway up the bristles. In addition, wipe off any excess. While painting, we recommend going parallel to the grain and keeping a wet edge. On the next brushstroke, slightly go over the wet edge of the previous one. This will lessen the number of brush strokes visible to give it that brand new look. Once the paint is dry – we recommend leaving it for a full day to be thorough – sand down your first coat with a fine-grit sandpaper. This will highlight any imperfections and areas of work that need attention. Then repeat the process again until no flaws are visible and all you have is a seamless coat of paint for the finish.
04B – STAINING
In terms of the staining option, it is better to go for a water-based stain as this is more environmentally friendly. This will also make the finished chair easier to clean. Before you get started with the staining itself, you should wet the wood in order to raise the grain. A broad industry suggestion is to apply the stain with a rag rather than a brush to your wood furniture. Another suggestion is to work in gradual thin layers rather than dumping a mass of stain on the wood and running the risk of ending up with something sloppily applied and far darker than you want. Applying the stain in gradual thin layers allows you to decide how dark you want it with more precision. To wipe off any excess, wipe down the chair with an old cloth – a separate one to what you applied it with. Leave enough time between each layer of stain for it to dry.
05 – FINISHING OFF
Whether you have opted to paint your refurbished chair or stain it, the final finishing steps are generally the same. This involves waiting for it to fully dry. Generally the longer you leave this step, the better. Even if the top layer of the paint may dry pretty quickly, it can still be damp underneath. It takes time for it to dry all the way through.
Another thing that also remains standard across both staining and painting a wooden chair regardless of which you opt for is applying either a sealant or a topcoat – these are both forms of varnish. This gives the chair some increased endurance against the regular wear and tear of use. With the chair already being durable by design, you want a paint job to match. One thing to remember is that sealers and topcoats are two different things, although they have the same ‘finishing touch’ purpose.
Topcoats tend to dry with a more resilient finish than paint. Sealants do the same but also protect your furniture from water damage, which for something made out of wood, is a definite added bonus.
When it comes to refurbishing an old wooden spindle chair, or any other wooden furniture, in fact, the process is relatively simple even if it takes a little research and reading to figure out what suits your intentions and budget best. Never be afraid to ask for tips either. Using an orbital sander, paint or stain, and either a top coat or sealant, you can transform the oldest of antique scuffed-looking chairs into something you’ll be proud to sell on or show off to guests visiting your home. What’s more, you’ll come away with a handful of transferrable skills that will give you the confidence to tackle other refurbishing needs in your home. Refurbishing chairs is an excellent money-saving skill as well as being an involved yet strangely relaxing project. Why not share with us what you’ve refurbished using this guide?

Makita
Makita XOB01Z 18V LXT® Lithium-Ion Cordless 5" Random Orbit Sander, Tool Only
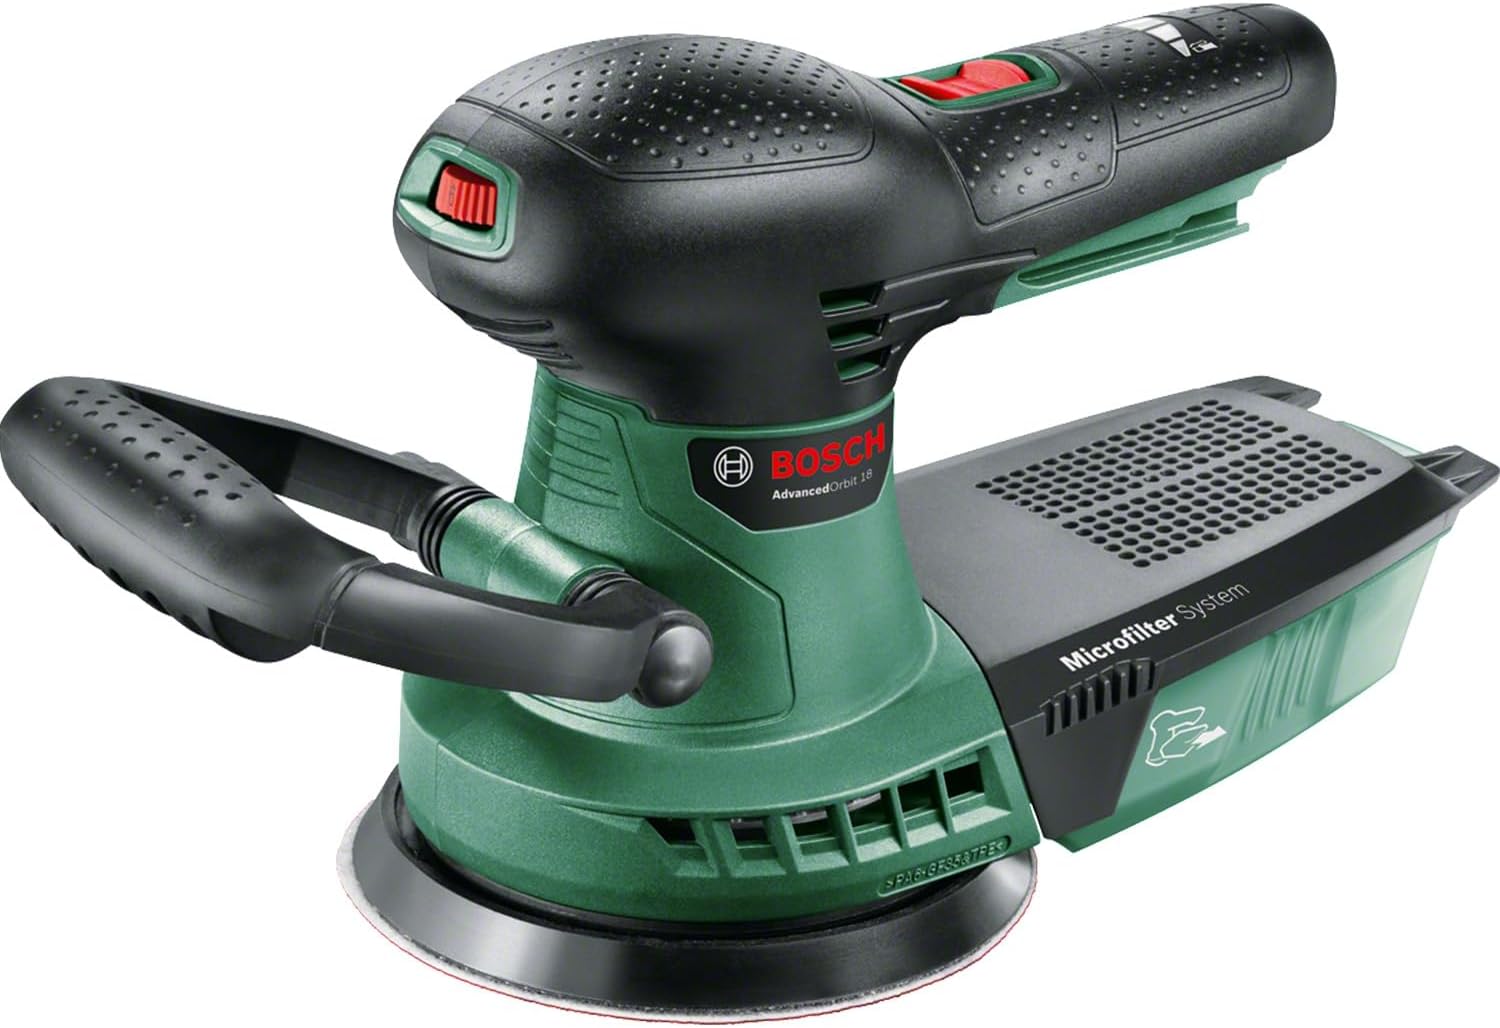
Bosch
Bosch Cordless Orbital Sander AdvancedOrbit 18 (without battery, 18 Volt System, in Carton Packaging)

Makita