Drywall is the first choice by DIYers and contractors for finishing interior walls mainly because it’s cost-effective, durable, and easily repaired. Sanding drywall on the other hand can be extremely slow and irritating – in fact, it’s often described as one of the worst jobs in home renovation! Sometimes you might spend more time cleaning up the dust rather than the actual sanding itself! With that said, sanding is one of the most important parts of the process. For example, a semi-decent sealer or primer might help hide any imperfections on your drywall but sanding is the last real chance you get to make everything perfect beforehand. We created this post to help you get a better idea of all the equipment you will need as well as how to sand drywall.
Getting Started: Expect dust – and lots of it
When sanding drywall or a dry joint compound, the production of dust is unavoidable and because dust is so light, it will float around and cover every nearby surface. This is why sanding can be one of the most tedious tasks for any builder, handyman, or construction worker.
However, all is not lost. Here are several excellent methods of keeping dust to a minimum when sanding drywall:
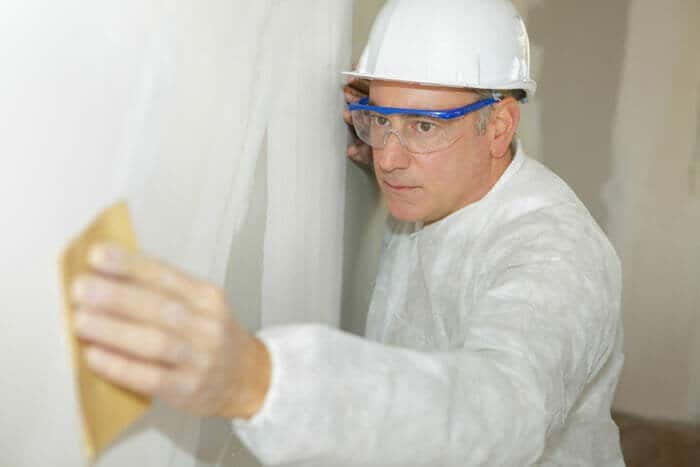
- Suit up – wear appropriate clothing and accessories like Gloves, Goggles and a mask, overalls, etc. This will keep you safe while also reducing the spread of dust.
- Prepare the room properly, using drop sheets while also securing them with masking tape. This will protect your flooring while also acting as a net. Once you finish sanding, let the dust settle and then gently fold and dispose of the drop sheets.
- Capture dust at the source, using a drywall hand sander with automatic dust collection will massively reduce the spread of dust and minimize cleanup, much more so than most other methods available. One of the best drywall sanders available on the market right now is the WEN 6369 Variable Speed 5 Amp Drywall Sander which we will cover later.
Required Tools
Ultimately in order to sand drywall, you could literally just use a simple sanding block. However, if you want it done to a very high standard, you are going to need to gather some tools to do so. In order to get this job done properly, you will need the following:
- Drywall Sander (ideally one with automatic dust collection)
- Sandpaper (120-150-grit will get the job done)
- Mud pan
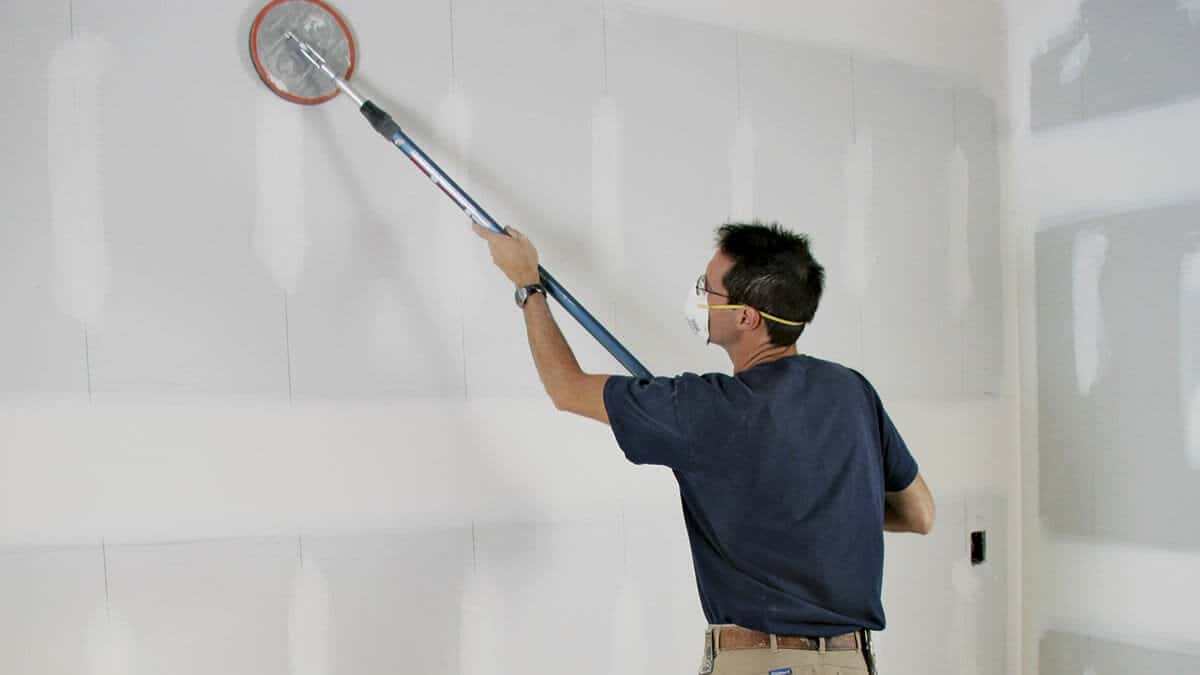
- Pole sander (if applicable, for sanding hard to reach surfaces)
- Work Light
- Pencil
- Wide Taping Blade
Step-by-Step: How to Sand Drywall
Assuming you have followed the steps above, you are now ready to get to sanding. Here is a step-by-step guide on how to sand drywall as efficiently as possible.
1) Map out areas accordingly
Before you begin sanding, you will, of course, need to work out which areas of the drywall or room need sanding, as well as the type of sanding required. The best way to work these things out, apart from the naked eye, is to use a work light positioned at an angle. A work light not only lets you see your surfaces a lot more clearly than your ordinary room light bulb but will also reveal what kind of sanding you need to do. Whether you have a high spot on the wall, you need to sand down or whether you need to fill a hole and even it out after. Once you have found an area that needs sanding, you can use your pencil to circle or label each area. This help will help you work out the level of work you need to do as well as allow you to plan the order in which you want to proceed.
2) Time to sand
Once you have mapped out all your problem areas, you can now start sanding. If you are unsure of which grit sanding paper to use, most workers use between 120 and 150-grit on drywall as it provides great results. The higher the grit number, the finer the abrasive is on the sandpaper. Typically you’d use a lower grit paper for rougher surfaces and higher for smoother. It is important to ensure that you do not apply too much pressure to your surface(s) when sanding, otherwise, you risk leaving marks or making it uneven. In addition, you don’t want to go too fast, or you’ll whip up a sandstorm in no time. Also, by going too fast, you risk scuffing or damaging the bare drywall outside of the area you are sanding, which almost definitely will be visible after painting.
For best results, I’d recommend getting your hands on an electric drywall sander like the WEN 6369 Variable Speed 5 Amp Drywall Sander. Weighing in at just 11 and a half pounds, this super lightweight drywall sander is the perfect choice for sanding high or low drywall surfaces with ease. What makes this sander great is the automatic dust collection and removal facility. Just simply connect the 15-inch dust hose to your shop-vac, and you’re ready to go. It even comes with 60 all the way up to 240-grit sanding disks that are easily installable with a hook and lock system. The powerful 5-amp motor provides maximum torque to the sanding disk. That, coupled with the 600 to 1500 RPM variable speed adjustment, will allow you to sand drywall without kicking up a sweat, while also providing a clean, consistent finish on your drywall, that isn’t often possible manually.
3) Preparing Drywall for Painting
For many years, when preparing drywall surfaces for painting, I would carry out a combination of wiping, sweeping, and sometimes vacuuming. I always thought that you wanted the surface to be extremely clean and dust-free before you painted. This was totally wrong. It turns out that you want to carry out minimal dust cleaning, only cleaning the accumulated areas of dust. The reason for this is because the dust itself binds with the paint and provides a kind of filler that masks scratches, pinholes and chafed surface paper, etc.

DEWALT
DEWALT Random Orbit Sander, Variable Speed, 5-Inch (DWE6423)

PORTER-CABLE
PORTER-CABLE 20V MAX* Random Orbital Sander, Cordless, 5-Inch, Tool Only (PCCW205B)

Milwaukee