Do you have a hardwood floor that you adore but need urgent sanding and refinishing? Have you checked out the prices of hiring a professional to do it and broke out in a sweat at their quote? Welcome to the Club!
Never the easy option
Few other works in the world would qualify as tough and unforgiving as much as sanding and renovating your hardwood floor. The stake is so high that even a single slip of the Sander will begin showing ruining your entire hard work and effort.
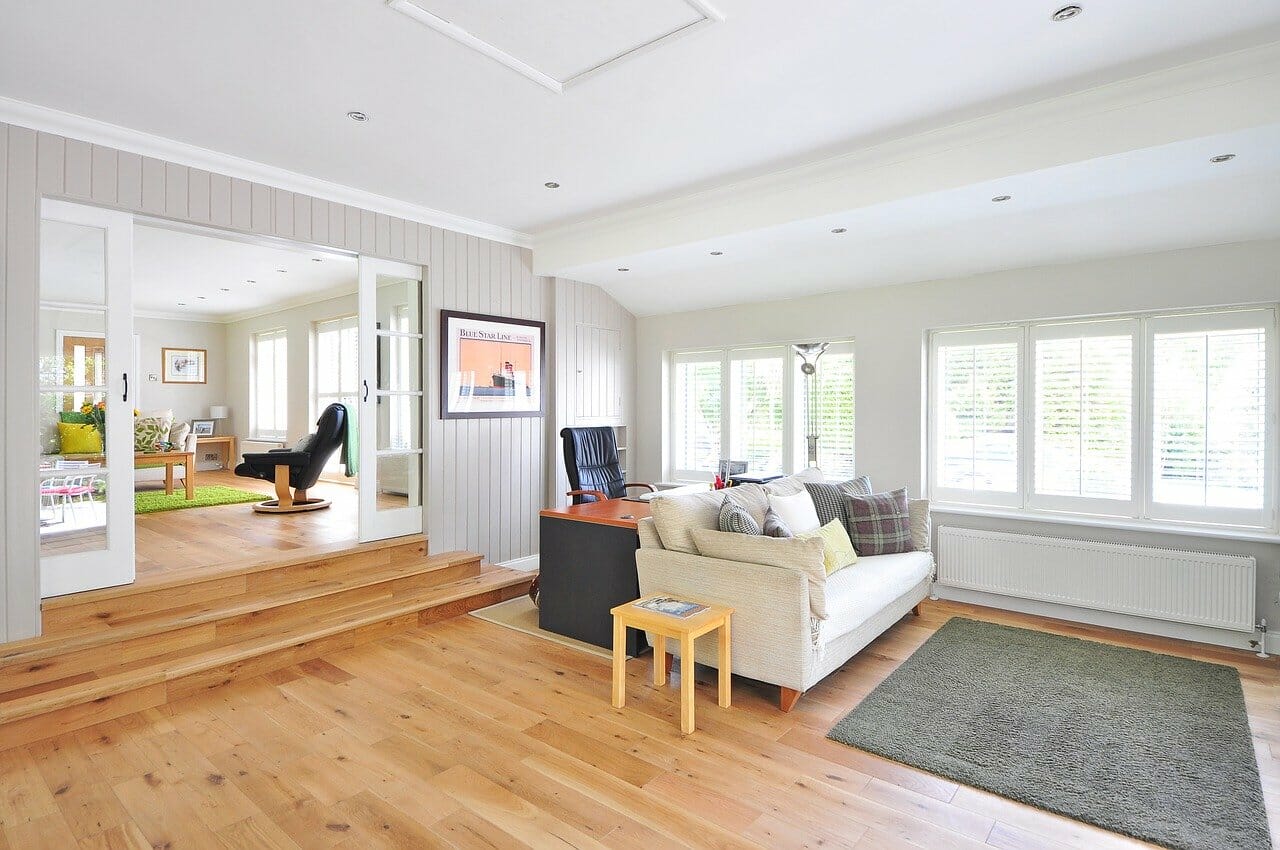
Refinishing a hardwood floor brings that entire room to life again. Many drab-looking rooms have been given a fresh lease of life with an exercise of sanding, sealing, staining, and then applying a lot of coats of some oil-based lubricant that will keep it shining for years to come.
Professionals make a kill
If you have to hire a professional company that will refinish your hardwood floor, you should be able to keep your purse’s strings open. Apparently, the finishing company charges as per square feet. When last enquired, they were charging anywhere between $7 and $12 per square foot depending on the quality and the condition of the hardwood.
The DIY way
If you think that this is a project that will excite you, then we have a fantastic DIY tutorial in the form of this article. However, we believe we will fail in our duty if we do not warn you that this will take a lot of hard work and a lot of investment in terms of time. But we promise that you will be spending far less than what you would if you were hiring a professional. So, are you game? Read on.
Choosing your sanding equipment
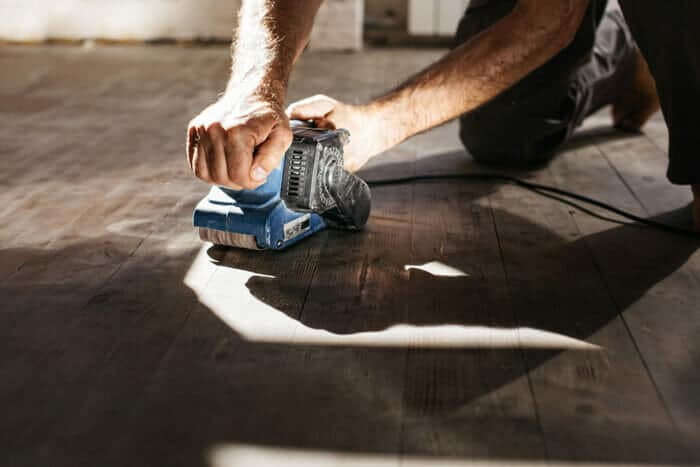
You have a small room, and there is only one room you have in the entire house with hardwood that needs immediate refinishing. Our advice is not to make any big investment in the form of a professional drum sanding machine. Go for the random orbital Sander.
The advantages of using orbital sanders over professional drum sanders
- An orbital sander is a way lesser investment than a drum sander;
- It does not require too much expertise to use it;
- For a newbie who has no great experience in wood grains, it is more forgiving.
The disadvantages of the orbital sander vis-a-vis the drum sander
- Orbital sanders will take a long time for you to complete finishing even if it is a small room
- It may take a lot of effort for you to remove the old finish with it
- An orbital sander can move in all directions with ease, and it may run away from you, causing more scratches that may become difficult to remove.
Why not simply use an Orbital floor sander?
-
Learn from other people’s mistakes
If this is the first time that you are sanding your hardwood floor and refinishing it, let us suggest that you read up a bit on the technique and the common mistakes that you are bound to make.
The internet is full of resources on how to use orbital sanders and sand hardwood floors to not gouge it and damage something that has heirloom value. Before you begin to refinish your floor, you must ensure that you have removed all of the stains from it. For hard-to-reach corners, use fine sandpaper, and finally, grain the old stains.
-
Prepping the floor
The room will have to be emptied of everything, including the furniture and fixtures. If you have blinds or curtains in the room, consider removing them, if that is not an option, you could use giant plastic bags to cover them and then tightly seal them before you hang them at least 4 feet above the ground where they will not interfere with your sanding and refinishing work.
– Take help for clearing the furniture off the room;
– Make sure someone is assisting you in carrying the orbital Sander to your worksite
– Do not forget to take frequent breaks
– Use goggles, earbuds, face masks, and gloves to ensure that the dust and fume do not affect you
-
Determine the floor thickness
You must have your hardwood flooring to be a minimum of .75-inch-thick to be able to sand as many times. If the floor thickness is less than 75, you may not want to risk because you could potentially do more damage to the floor. It is recommended that a professional be called in if the hardwood floor is thin.
-
All about sandpaper
You will need a lot of sandpaper in varying grits. Go for the open face sandpaper as they are easy to use as well as economical.
- Coarser grits of the sandpaper are needed for the first round of manual sanding and completely remove the old finish from the wood.
- The finer grits will be used one by one in the process of sanding it to get the smoothest finish that is possible.
- Paint on the floor will require 20-grit sandpaper. Shellac and varnish will require a minimum of 36. You may want to finish the final sanding with 100-grit paper. Buy extra sandpaper from your home depot, depending on the condition of your floor. Save the extra papers for later, or you could return what you cannot use.
-
Complete sanding the room
Use the orbital Sander as though you are mowing the lawn. Proceed row by row and, in a way, overlapping space by at least half of what is Sander’s width. Make numerous passes over the same part of the floor to ensure that the sanding is perfect.
Do not forget the corners. Use sandpaper manually to remove the stains from hardwood from near them if the orbital Sander is difficult to go there.
-
Vacuum and wipe the dust
Once the sanding is done, use a vacuum cleaner to suck up all the dust from the sanding. That once done, pick up a tack cloth and use it to remove any dust or hair that has left on the floor.
What to do if a hair of a screw is trapped inside the polyurethane?
You must remove that strand of hair from them. But you must do it in a bid to not damage the flooring. First of all, sand over the strand of hair; then carefully dig it out with a sharp pin. Now re-sand the same area with finer grit sandpaper.
-
Using the sealer to refinish the floor
A lot of homeowners do not use sealer coats to refinish their floors. However, if your room sees heavy traffic and the wooden floor is very prone to stain easily, kindly consider sealing it with a good quality sealer. If you choose to seal the floor, try to use an oil-based polyurethane sealer instead of a water-based one. Don’t forget to wear gloves as it may irritate some skin types. Make sure that the sealer is spread evenly, and you have a strategy to exit the room to leave it to dry for a minimum of 48 to 72 hours before you move in your furniture.
Video Tutorials
If a picture is worth 1000 words, how much is a video worth? and a series of videos? I have selected and seen for you the best videos out there here is what I found:
Tips for floor Sanding using an Orbital Sander
In this video, we describe using an orbital sander to finish a hardwood floor.
Start by sanding the floor with 100-grit sandpaper and an orbital sander, then switch to 220-grit sandpaper to smooth out the wood filler they previously applied to the floor.
Of course, you should try on a small area of the floor first before proceeding with the whole project, and beware that this method may not produce satisfactory results if the floor is to be stained, as the orbital sander may not remove enough material to provide an even tone.
After sanding, clean the floor with varnish remover and apply three coats of oil-based polyurethane finish, waiting for each coat to dry before applying the next.
Note that in this video, using an orbital sander saved them the cost and inconvenience of renting larger, more expensive sanding equipment
How To Sand & Refinish Hardwood Floors with Orbital Sander
I also recommend watching this DIY tutorial, even if it’s a bit long.
This video tutorial describes the process of sanding and refinishing a hardwood floor using a combination of an orbital sander and a large pad sander. Use a DeWalt sander which is also one of the most purchased and well-rated by our users.
Before sanding, it is advisable to prepare the floor by removing obstacles or old encrustations or plugging any holes or cracks.
The sanding process is the same as always, starting with coarse sandpaper to remove the old finish from the floor and get into tight spaces around the room’s edges.
Then a variety of grits of sandpaper are used, always from a coarse grit and progressing to a fine grit, to smooth out the scratches from the previous grit to a smooth finish.
After sanding, they recommend cleaning the floor and applying a finish to protect the wood.
How to Sand and Finish Wood Floor with Floor Sander
In this video, Bryan Strickland, describes the process of sanding and refinishing a hardwood floor using American Sanders equipment, so don’t expect a sweet word about orbital sanders, but it seemed only fair to show you what sanding looks like with professional products and more expensive.
The video is well done and a step-by-step guide on sanding and finishing your hardwood floor using a floor sander. The video is also useful if, like me, you decide to sand using a simple orbital.
Conclusion
Once you are through, look at your gleaming hardwood floor and pat your back. And never allow anyone to tell you that you could not do this. You are the epitome of patience, grit, and determination.

LDHTHOPI
LDHTHOPI Buffer Polisher, 1600W 7 Inch/6 Inch Rotary Buffer Polisher Waxer, 7 Variable Speed 1000-3500 RPM, Detachable Handle for Car, Boat Sanding, Polishing, Waxing

Milwaukee
Milwaukee Electric Tools 2648-20 M18 Random Orbit Sander

Makita