Sanding is a task popular with any wood project. It helps remove woodworking machine mill marks and gouges and dents caused by handling. As for the tools, it uses sanders and sandpaper to get the job done. It helps give that perfect finish for your wood pieces that you are planning to work with.
How To Use Sandpaper?
You can use sandpaper for sanding wood in two ways. That is, either with the help of a power tool (If you go that route, you can find the best orbital sanders for the job on our homepage) or by using your hands. Here we will find out how to sand wood by hand.
Sanding by Hand
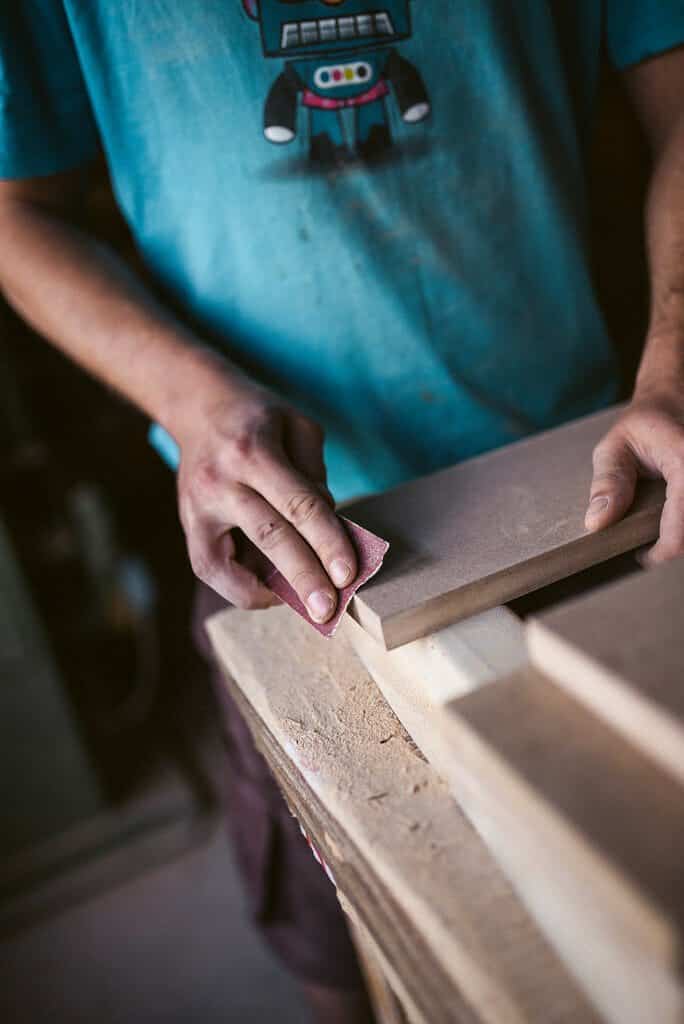
Hand sanding wooden products offer a light touch for working with wood and finishing delicate pieces. Hand sanding provides more benefits than power sanding.
To begin with, the final hand sand work ensures better finishing than power sanders. This is because irrespective of the grit you use, the power tools will always leave scratch marks behind. Since hand sanding uses proper techniques, the scratches become less visible as it aligns well with the woodgrains.
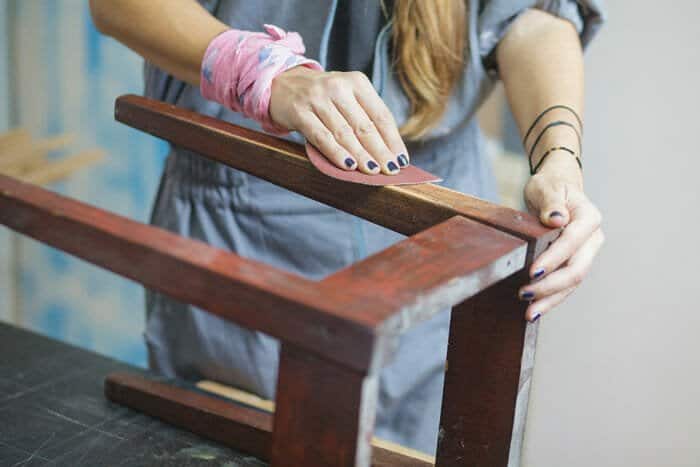
Moreover, hand sanders’ ability to work in tight spots and contours is one of the main reasons why hand sanding is preferred. As it gives better control, you will be able to access areas that are not possible to reach when using a power sander.
For hand sanding, the sandpaper comes as sheets that you can cut as per your size requirements. Some types of sandpaper are suitable for both hand sanding as well as power sanding. You can buy sandpaper in sheets that can then be cut into the correct size for your sanding block. You can also reuse sandpaper from your orbital sander sanding discs.
Steps On How to Hand Sand Woodworks
By using high-quality sandpaper and some specialized tools, you can smoothen woodworks easily to give first-class finishing. Here we will provide you with step-by-step instructions on how to get the best results for hand sanding.
Tools Required
- Sanding block
- Putty knife
- Sanding grips
Materials Required
- Sandpaper
- Rigid foam insulation
- Spray adhesive
Step 1: Select 3 Grits To Choose The Best Sandpaper For Woodworks
While sanding, you’re scraping materials away from the surface to contour or shape edges or remove imperfections. Make use of coarse sandpaper that will help remove the defects easily. If you initially use very fine sandpaper, it will take a long time to sand out the imperfections.
Using 80-grit sandpaper is the best option for sanding most shaped or planed wood. If the woodwork is smooth and lacks deep scratches, a 100-grit paper would work great. Both papers leave fine scratches behind. Hence, you need to use finer grits for the next step. If you started with 100, go for 150, or if you used 80, then opt for 120. Finally, sand using 220-grit paper gives the finest grit for most wood types.
Dense grain wood types like ebony may need 320 or 400-grit sandpaper to eliminate the visible scratches.
Step 2: Use Sanding Blocks For Flattened Surfaces
To attain better results with less effort, you must use sanding blocks. The blocks can evenly distribute sanding pressure to maintain a flat surface. To make a sanding block, cut a rigid foam into a small square or glue thin cork layers to a wooden block. You can also purchase rubber sanding blocks at any paint store or hardware shop.
Make sure that the blocks have a shape that conforms well in your hand. For the final grits, it’s advisable to sand with the woodgrains to eliminate all the cross-grain scratches.
Step 3: Swimming Noodles And Foam Pipe Insulation Work As Great Sanding Pads
Flexible, soft foams are the perfect sandpaper base, as you can compress or squeeze it to fit various shapes. For sanding medium-sized coves, wrap the foam pipe insulation with sandpaper. As for large concave surfaces, use foam swimming noodles for wrapping. You can use any household items to make sanding pads, but make sure they are soft and easy to cut through.
Step 4: Use Contour Sanding Grips
These sanding grips are easier to sand molding profiles as the shape remains consistent, and you gain a good grip. You can choose grips that suit your profile and wrap it with sandpaper.
Step 5: Wrap Sandpaper on a Putty Knife to Reach Tight Spots
You may find it difficult to sand tight corners, for example when you are sanding stairs with an orbital sander, without scratching the adjacent woodworks. To avoid this, wrap an adhesive-backed sanding paper to the putty knife edge using a utility knife. These adhesive-backed paper discs are available in most hardware shops. Or else, try spray adhesives for mounting the sandpaper or buy sandpaper rolls that have an adhesive backing.
Step 6: For Sanding Painted Surfaces, Get Clog-Resistant Sandpapers
Painted surfaces and resinous woods such as pine will easily clog most sandpaper types. Look out for sandpapers with the label clog-resistant or no clog and avoid using sandpaper reams. These clog-resistant papers have a soapy film coating known as stearate. This is capable of shedding as you sand and take the resin or paint along with it, leaving the grit exposed for better sanding results. It’s easy to recognize these no-load sandpapers as it has a colored or mottled gray surface.
Yellow garnet and brown aluminum oxide, which are the common sandpaper types, are not coated and tend to clog quickly. Clog-resistant sandpapers are quite expensive but will last longer and save sanding time.
Step 7: Customize The Sanding Block To Sand Complex Shapes Quickly
Rigid foam insulation scraps like extruded polystyrene work as great sanding blocks. This is because they are easy to shape and conform well to any molding profiles. To begin with, make three sanding blocks. Use spray adhesive on the molding and back of the three progressive finer grit sandpapers. Glue them together to create a perfect sanding sequence. You can press them along with the help of a putty knife blade.
Step 8: Sanding the Foam Block to the Profile
Make sure to rub the rigid foam insulation block over the sandpaper until it conforms well with the molding profile.
Step 9: Adhere the Sandpaper to the Foam Block
Coat the back of the sandpaper and the foam block with spray adhesive. Next, carefully stick them both together and start sanding the mold.
At times, you might find it difficult to securely fit the sandpaper over the sharp corners of the customized block. To avoid this, cut the sandpaper using the utility knife and press it onto the block using a putty knife. Next, sand these portions individually using a small folded paper or a square sanding block.
Wrap Up
Now that you are aware of how to hand sand woodworks follow the above steps carefully to create magnificent pieces to work with.

LDHTHOPI
LDHTHOPI Buffer Polisher, 1600W 7 Inch/6 Inch Rotary Buffer Polisher Waxer, 7 Variable Speed 1000-3500 RPM, Detachable Handle for Car, Boat Sanding, Polishing, Waxing
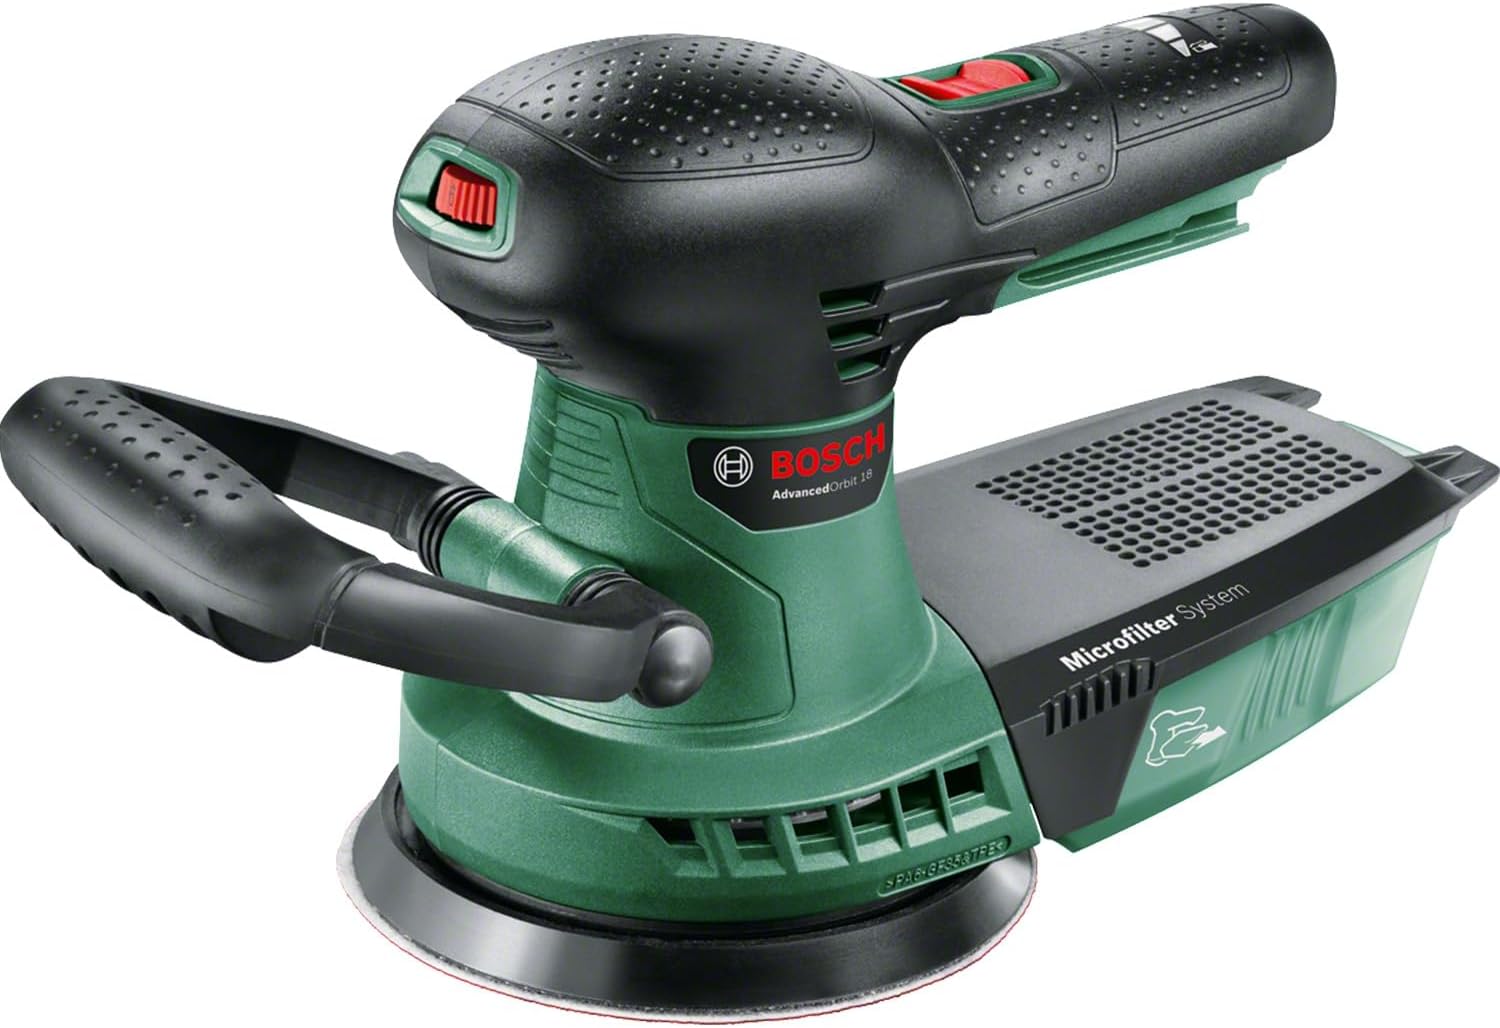
Bosch
Bosch Cordless Orbital Sander AdvancedOrbit 18 (without battery, 18 Volt System, in Carton Packaging)

Milwaukee