Perfectly comfortable in your hand, the palm sander is a cheap, versatile, and easy-to-use sanding tool. It is rectangular and uses a 1/4 sheet on a rectangular pad. Moreover, a palm Sander is considered the lightest and the tiniest compared to other power sanders. A good palm sander not only provides you an excellent finish but also makes sanding quick and effective. Not to mention but palm sanders are incredibly cost-effective, and you can find a decent one under $100, which will go for most of the sanding works.
Ahead, this blog will assist you to use a palm sander accurately, which will help you save a lot of time and energy. And in completion of this blog post, you will be able to sand without having to reduce the final result’s quality.
But before we begin, it is essential to understand that palm sander, despite being easy to use, still needs manual movement, and you need to switch the paper frequently. Are you still with me? Let us get started and learn the method to use a palm sander.
1) Pick the right type of sandpaper for the job.
You can’t go ahead without first picking the proper sandpaper that fits for work. After that, you will need to check the state of the wood and decide the best grit.
For example: according to https://www.nortonabrasives.com/, it is recommended to use the given grit for sanding different types of things.
Sanding wood
To sand and strip wood, you can apply a grit of 40-60 and for sanding wood alone you can use standard grit of 80-120. Then you can go up to 130 grit for finishing wood, and finally, you can apply a further grit of 180 for superfinishing wood.
Sanding plaster
To sand plaster or drywall, it is recommended to use a grit of around 80. Furthermore, for polishing plaster, a light grit of 120. Then you can go up to 180 for superfinishing plaster. And for ultra finishing plaster, make sure to use a grit of 240 to 320.
Note: Aluminum oxide is a number one source for sandpapers made today as they are long-lasting and easy to cut.
2) Measure and Insert Paper
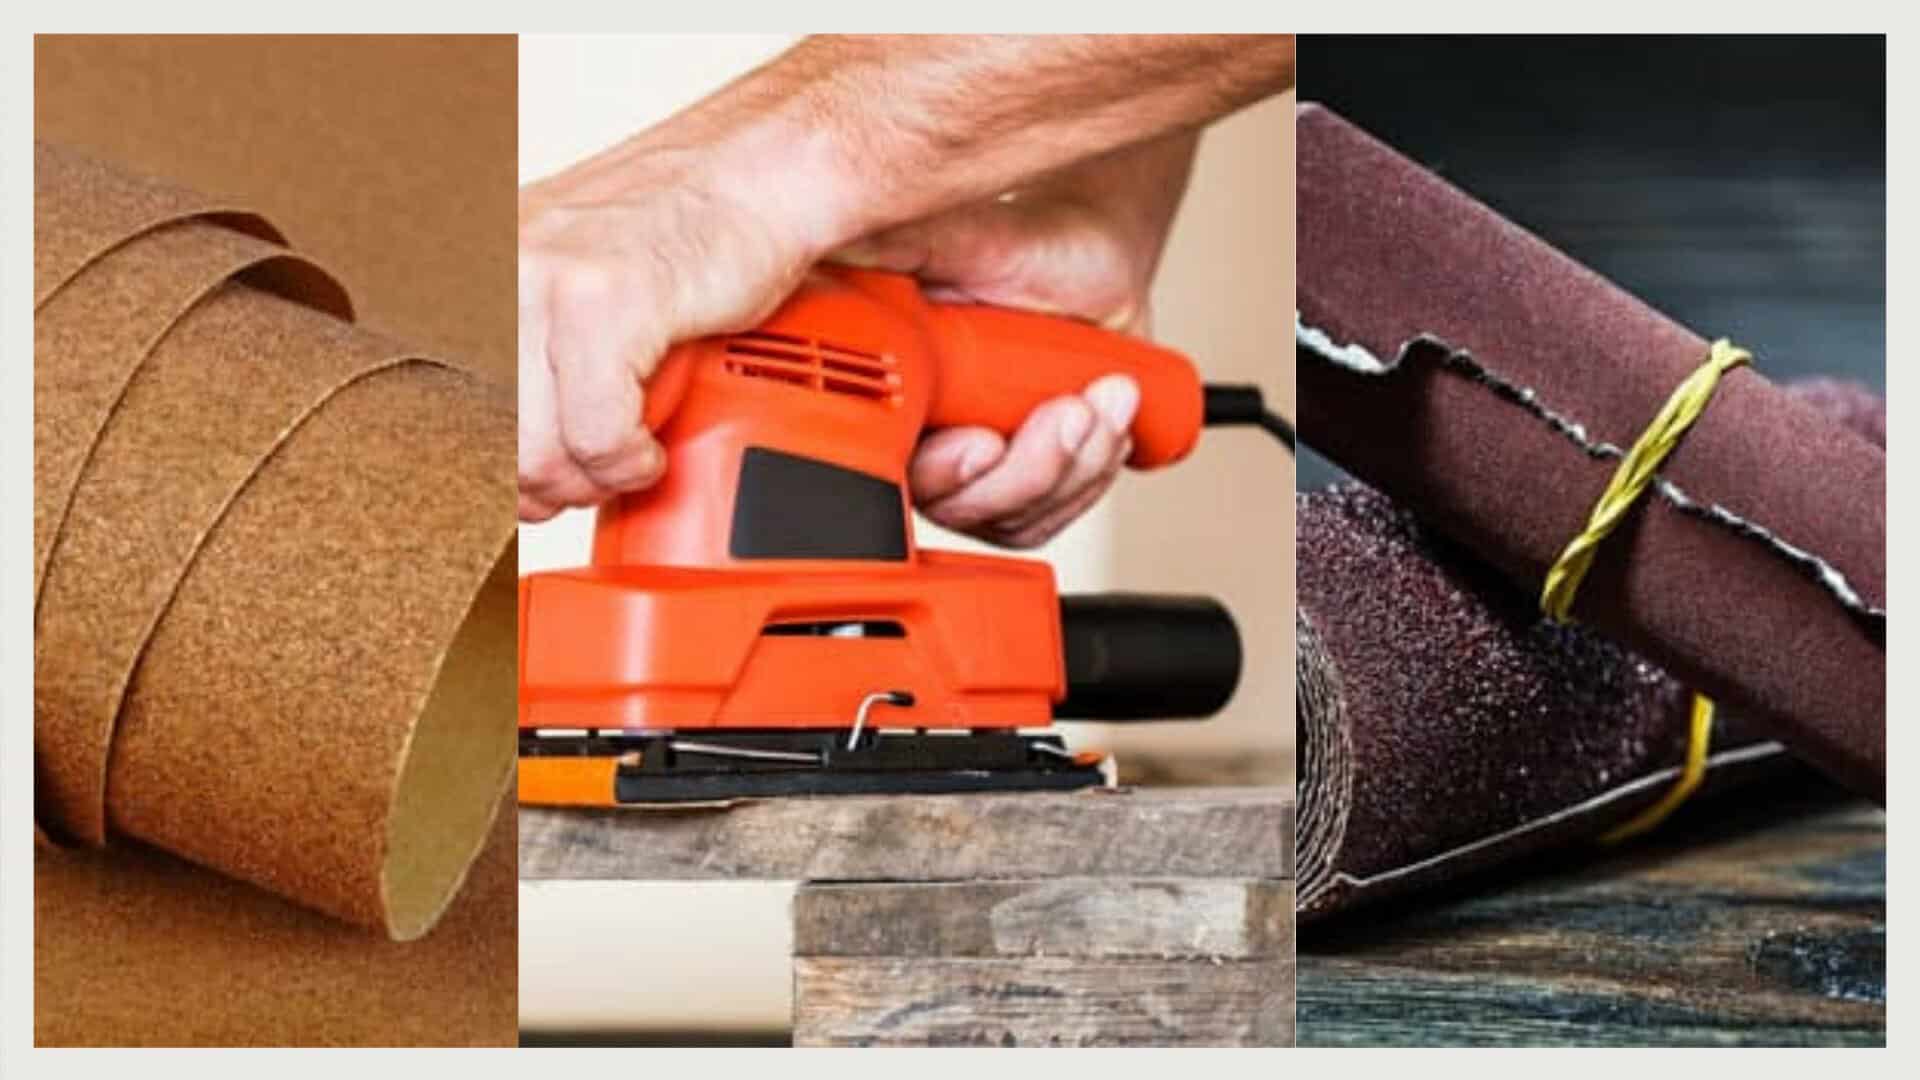
Once you make sure what grit to use, it’s time to measure, cut, and insert the paper. To add the sandpaper, you need to open the sanders’ clamp lock. Once you do it, put the paper in and stiffen the clamp lock.
Note: Don’t forget to put on your safety goggles, gloves, and dust masks.
3) Start the Sanding process
First, you need to switch on the palm sander, and gradually set the pressure to a flat area of a piece of wood while you move along following the wood grain. Use long, even strokes. Move onto one direction. Never step back and forth over a given area, as this will display visible scratching. Do it until you reach the smoothness you want.
Note: Use a palm sander only on flat surfaces.
4) Time to finish it
Now turn off the sander. You can proceed to change paper and sanding until you complete the project. After you have progressed with coarse-grit paper, clean the surface area with a dry cloth.
Storing & safety

Before you begin to work with your sandpaper during your project, it is necessary to wear safety goggles, gloves, and dust masks. Don’t forget to place your sandpaper in dry conditions. Also, put the sandpaper away from cold and damp conditions. Furthermore, do not expose it to high temperatures or direct sunlight. Doing so may cause distortion.
If you want to understand the instruction more precisely, it is highly recommended to read the owner’s manual for further and specific instructions depending on the model you choose.

PORTER-CABLE
PORTER-CABLE 20V MAX* Random Orbital Sander, Cordless, 5-Inch, Tool Only (PCCW205B)

Makita
Makita BO5041 5" Random Orbit Sander, Variable Speed

DEWALT