Desks are one of those essential household items of furniture that can be used by a broad range of individuals. From kids working on homework to part of a home office, through to someone with an established crafting space, desks can be as varied as the people using them.

DIY Desk Types
[1] Improvisation and Combination
So you’ve been shopping around, and you’ve found a few shelves and desks that are close but not quite what you are looking for. While this is a bit more of a pricier option than some of the ones we will go on to suggest, it is still a viable option in itself. Simply put, you purchase a desk top surface from Ikea and shelving units from Target. Combine the two together and voila!
[2] Upcycled Sawhorses
Sawhorses, what are those? Sawhorses look like gigantic hinges with extended legs. Some are height-adjustable, some aren’t. For this particular DIY desk, you need two sawhorses of the height you desire and a 2” by 4” plank of wood. It is simply a matter of securing the sawhorses to the plank with as sturdy of a glue as you can get and voila, there you go!
[3] Desk? Chalkboard? Both!
When it comes to minimizing the amount of space taken up by your house, you’ll want to make the furnishings you have as versatile as possible. This desk idea combines a desk and a chalkboard at the same time. You need a plank of the size that you want, hinges, a thin but still fairly sturdy chain and obviously, screws to secure the hinges with. Once the hinges are attached and the plank secured to the hinges, the chain will take some of the weight off when the desk is down. All you need is a way to secure the plank once it is up and there you have it; part-desk, part-chalkboard.
[4] Hairpin Style
Hairpin legs look exactly like the name describes. Hairpin legs are a form of thin metal leg that can be used for a variety of purposes. For this desk, you’ll need 4 hairpin legs of the size and style of your choosing. To go on top, you’ll need a plank of the size of your choosing. It is simply a matter of securing the plank to the hairpin legs and waiting for it to dry.
[5] Bar Style
Bar stools have something of a timeless quality about them. This is designed for bar stools with no cushion on top, so just the wood and the legs of the stool itself. You’ll also need a wooden plank of a sensible size that fits what you want. All it takes is securing the plank to the top of the stools, waiting for it to dry, and then putting it where you want it. The only thing you really need to be aware of is getting stools that are the same height!
[6] Pedestal Style
Who doesn’t love a weathered-looking pedestal that seems to have come out of an old swords and sandals movie? Pedestals can come in a lot of different shapes and sizes, so you have plenty of wiggle room when it comes to picking a pair that matches the aesthetic of the room. All you then need is a plank to go on top and enough screws to secure it in place.
[7] Upcycled School Desk
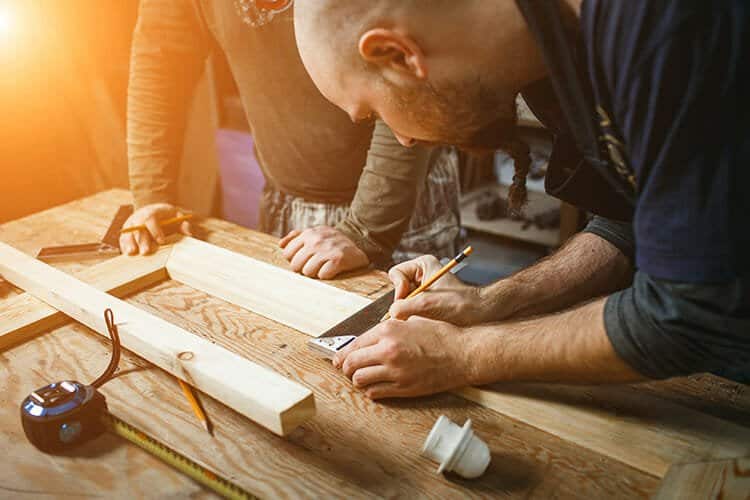
This is better suited for children than it is adults, but they deserve nice desks too! Upcycled old wooden school desks are sturdy, durable and have already proven that they can stand the test of time. This also requires minimal work. You’ll want to go over it with a sander to make sure that you’ve got any rough edges smoothed down before either repainting it to match the scheme your kid wants or added a varnish or wood stain to preserve the wood itself.
[8] Copper Chic
This is a little more challenging but is ideal for those who like to set themselves a new bar. This requires stock lumber of the size of your choosing, suitably sanded and prepared so then it is safe to work with. This can either be stained and varnished to preserve the natural color of the wood, or painted the color of your choosing. The copper pipes will be a little fiddly to construct, but they are sturdy enough to support the plank’s weight depending on how thick it is. The result is something that has almost a steampunk or mechanical vibe.
[9] Wallside Desk
If you don’t want something that takes up a lot of space in your room, this is ideal. You need a plank – or multiple planks if you want something in a corner – of the size and thickness desired. All it takes is screwing the plank into place, securing it with brackets, and there you have it!
[10] Among the Shelves
This is a variation of the above design. To integrate your wall-desk with the rest of the furniture in your space, why not surround your desk with shelves to put your books on. This is ideal for bookworms and students alike who want to keep things looking integrated while keeping everything handy within reach.
Conclusion
So there you have it! A range of suggestions on how to make a different type of desk. From recycling old pedestals to upcycling a school desk, and from utilizing old wooden bar stools to combining two separate items of furniture from two different stores, these ideas are aimed at being suitable for a range of budgets and DIY skill levels. No matter your skill level or budget, there is bound to be a desk idea to suit you.
Bosch
Bosch Cordless Orbital Sander AdvancedOrbit 18 (without battery, 18 Volt System, in Carton Packaging)

DEWALT
DEWALT 20V MAX Orbital Sander, Tool Only (DCW210B)

Milwaukee