
The process is sanding a cabinet can be a very long and complex one. This is especially true if you try sanding the cabinet down manually using sandpaper. Despite these difficulties, it is an important task to carry out before undertaking any restoration works such as varnishing or spraypainting your kitchen cabinets.
Fortunately, you can save a lot of time by using a power sander and the best sander for cabinets is the orbital sander. The orbital sander will allow you to sand down your cabinet very efficiently, it will leave you with an extremely smooth surface and it will save you lots of time.
The reason why the orbital sander is specifically suitable for this task is due to the way that it oscillates in a random motion. The difference between an orbital sander and a sheet sander is the random oscillation that prevents dents or imperfections from being created during the process of sanding and it ensures a very smooth finish. There are lots of different types of orbital sanders of course, so it is important to research and find the best orbital sander for wood.
Having said all of that, there is still a place for manual sanding. Once you have completed most of the sanding down, you can finish with some manual sanding using plain old sandpaper and a sanding block. This last stage will produce a super fine and smooth finish for your cabinet.
The advantage of using a combination of power tool sanding and manual sanding is that you do all of the heavy work with the power tool and then you can take your time creating a perfect finish with the manual sanding.
The other great thing about combining these two methods is that you can reuse the orbital sandpaper when doing the manual sanding.
Preparation Required for Sanding your Cabinet
Once you have purchased an orbital sander and you have decided that you are going to restore your cabinet, it is very tempting to get stuck in with the sanding straight away.
However, it is important that you prepare everything prior to sanding; this not only helps things to go smoothly but it also helps get you in the right frame of mind to carry out the project methodically and comprehensively. Ultimately this will result in a perfectly restored cabinet at the end of your project.
Preparing your Tools and Working Area
The first step is to prepare your tools and environment. You need to have all the tools to hand before starting your project so that you have everything that you need to carry out the work. There’s nothing worse than getting halfway through a project and then realizing you don’t have something that you need.

To sand your cabinet with an orbit sander you will need the following tools and equipment:
- Safety equipment – Dust mask, safety glasses, and ear defenders.
- Cleaning equipment – dustpan and brush, vacuum cleaner, and optionally a dust collection unit for your orbital sander.
- Power tools – Orbital sander – Optionally you may have a powerful sander such as the Makita orbital sander for the heavy work and then a smaller palm sander for finishing.
- Hand tools – screwdriver set for disassembling the cabinet, paint scraper, or a putty knife for stripping any coatings from the surface of the wood prior to sanding.
- Chemicals – Paint or varnish remover for preparing the surface and alcohol for cleaning the word after sanding has been completed.
- Sandpaper – you will need several grades of sandpaper sheets as well as sanding disks for your orbital sander. Typically, you will need sandpaper grit ranging from 80-600.
- Paint or varnish – you will need this if you plan on varnishing or painting the cabinet after it has been sanded down.
- Power cord extension lead – don’t forget about this one, having an extension lead to hand prevents you from being restricted when using your orbital sander (Unless of course, you are using a cordless orbital sander.
Disassembling your Cabinet Prior to Sanding
If you have a very simple cabinet, then it may be possible to sand it down without first taking it apart. However, in most cases, it is beneficial to disassemble the cabinet before you start sanding and at the very least its worth removing any knobs, handles, or hinges from the cabinet first.
Doing so will allow you to easily get to all of the surfaces, corners, and crevices that make up the cabinet and you will find that sanding the surfaces is much easier when you are working with individual components of the cabinet and when you can access all surfaces easily.
When you disassemble the cabinet make sure that you take detailed notes on how the cabinet fits together as well as storing away any fixings safely. This will make it much easier for you when it comes to fitting the cabinet back together.
Strip off any Surface Coating Prior to Sanding
If your cabinet has any type of coating on it then you should strip this off before you start sanding the surfaces. You should be able to identify the type of coating that your cabinet has on it – for example, if the cabinet has been coating in varnish it will have a shiny surface. If it has been coating with oil, then it may have a slightly rougher finish and equally, if it has been painting then it should have a visible colored coating on it.
Apply the appropriate chemical remover to the surfaces of the cabinet; you can paint the chemical on using a brush but make sure you keep a close eye on the chemical reaction as it takes place. You don’t want to leave the chemical on any longer than necessary and once you see the coating starting to bubble or lift, scrape it off using a paint scraper or putty knife.
If your cabinet has been coating with some type of oil then it may not be possible to remove it because oil-based coatings tend to soak into the wood. In this case, you can often remove much of the coating through the sanding process itself.
Fill in any grooves or dents
The final step before you can begin the sanding process is to fill in any grooves, imperfections, or dents on the surface of the wood that makes up the cabinet. This will ensure that you have a relatively smooth surface before you start sanding. Once you introduce the cabinet to the orbital sander you can then clean up any filling that you have done, and the result will be a perfectly restored cabinet that has no visible imperfections.
Sanding Your Cabinet
Finally, we have now prepared everything that is required, and we are ready to start sanding the cabinet itself.
To start with you will need your orbital sander with a hard-grit sanding disk fitted – the best coarseness to start with would be somewhere between 80 and 120 grit.
Make sure that when using the orbital sander, you follow the grain of the wood wherever possible. Although the power tool will automatically sand with random movements, following the grain helps to make the finish as smooth as possible.
Always try to keep the sander moving across the surface and avoid keeping the sander still in one spot as this will help to avoid any rough marks or dents forming in the wood.
Once you have covered the entire surface of the cabinet and you are happy with the results, you can move on to finer sandpaper. Using a sanding disk with a grit ranging somewhere between 360-600, go back over the surface of the cabinet, making sure that you cover all the surfaces and sides of the wood evenly.
Once you have finished this sanding process you should be left with a very smooth finish across all the cabinet’s surfaces. Inspect every surface and make sure there are no remaining imperfections, no rough areas, and no coatings left on the wood.
Remember that you are only looking for 80% perfection at this stage and that we still have the manual sanding where we can make the surfaces perfect.
Creating a Fine Finish for your Cabinet with Manual Sanding
Now that you have a relatively smooth surface you can apply the finishing touches using a manual sanding process. At this stage you will just need a sheet of sandpaper – the finer the better but somewhere around 80-grit should be suitable. You will also need a sanding block – although this is not a necessity it will make for a smoother surface.
Lightly sand the surfaces of the cabinet using the sandpaper block once again ensuring that you follow the grain of the wood wherever possible. As you move the block in the direction of the grain also use circular motions to avoid applying too much pressure to any one area of the wood.
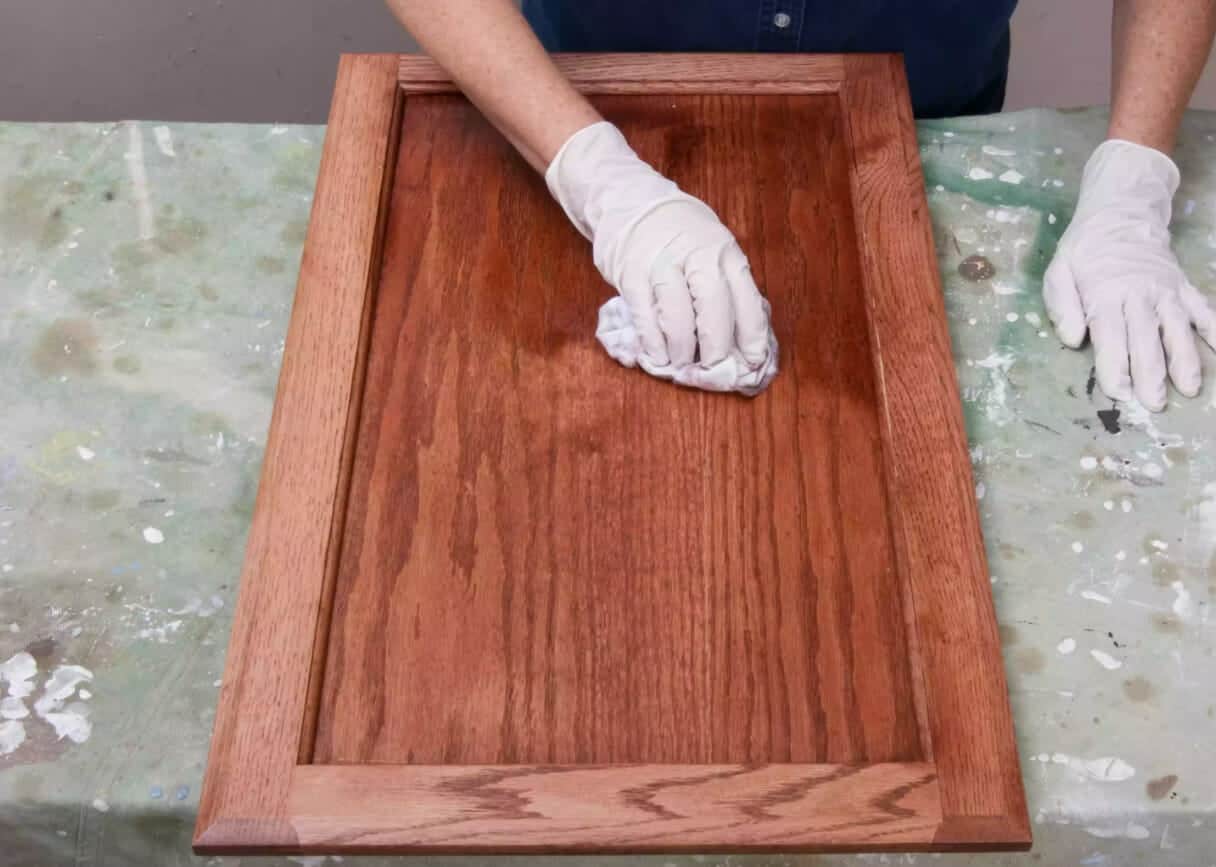
Cleaning the Surface Prior to Varnishing your Cabinet
Once you have finished sanding the surfaces, the last requirement prior to varnishing is to clean the surfaces once again. The best tool for cleaning the wood is alcohol – this will provide you with a nice clean finish but also will not leave any residue on the surfaces as a result.
Apply the alcohol with a rag, again following the grain of the wood in the process. Once you have finished, allow the alcohol to dry or evaporate and then go over the surface once more with a microfiber cloth to clear off any remaining debris.
Applying Varnish to your Cabinet
Now that you effectively have a brand-new cabinet to work with, it’s time to apply varnish. We have a nice clean surface to work with now, so the varnish can be applied straight onto the surface of the wood. You can use a brush to apply the varnish, or if you are worried about covering the cabinet as evenly as possible you can even use a paint roller.
The most important point here is to make sure that you get a nice even coat of varnish across the entire surface. You do not want too much varnish in any area of the cabinet and equally, you do not want any area that is not varnished.

You will likely require several coats of varnish to give you a smooth well-covered finish. Between each coat allow the varnish sufficient time to dry. It is also a good idea to lightly sand the surfaces between each coat of varnish; this will give you an exceptionally smooth and shiny finish.
Putting the Cabinet Back Together
Once you have finished your varnishing coats and you are happy with the look and feel of your cabinets surfaces you can put everything back together. Follow your original notes for reassembling your cabinet, remember that all of your surfaces might be slightly different now in terms of thickness, due to your work, so take care when reassembling everything as you don’t want any marks or chips to be created in the process.
The end result should be a fully rejuvenated cabinet that looks as good as new, perhaps even better than new seeing as it has had so much love and attention from you during the renovation process.
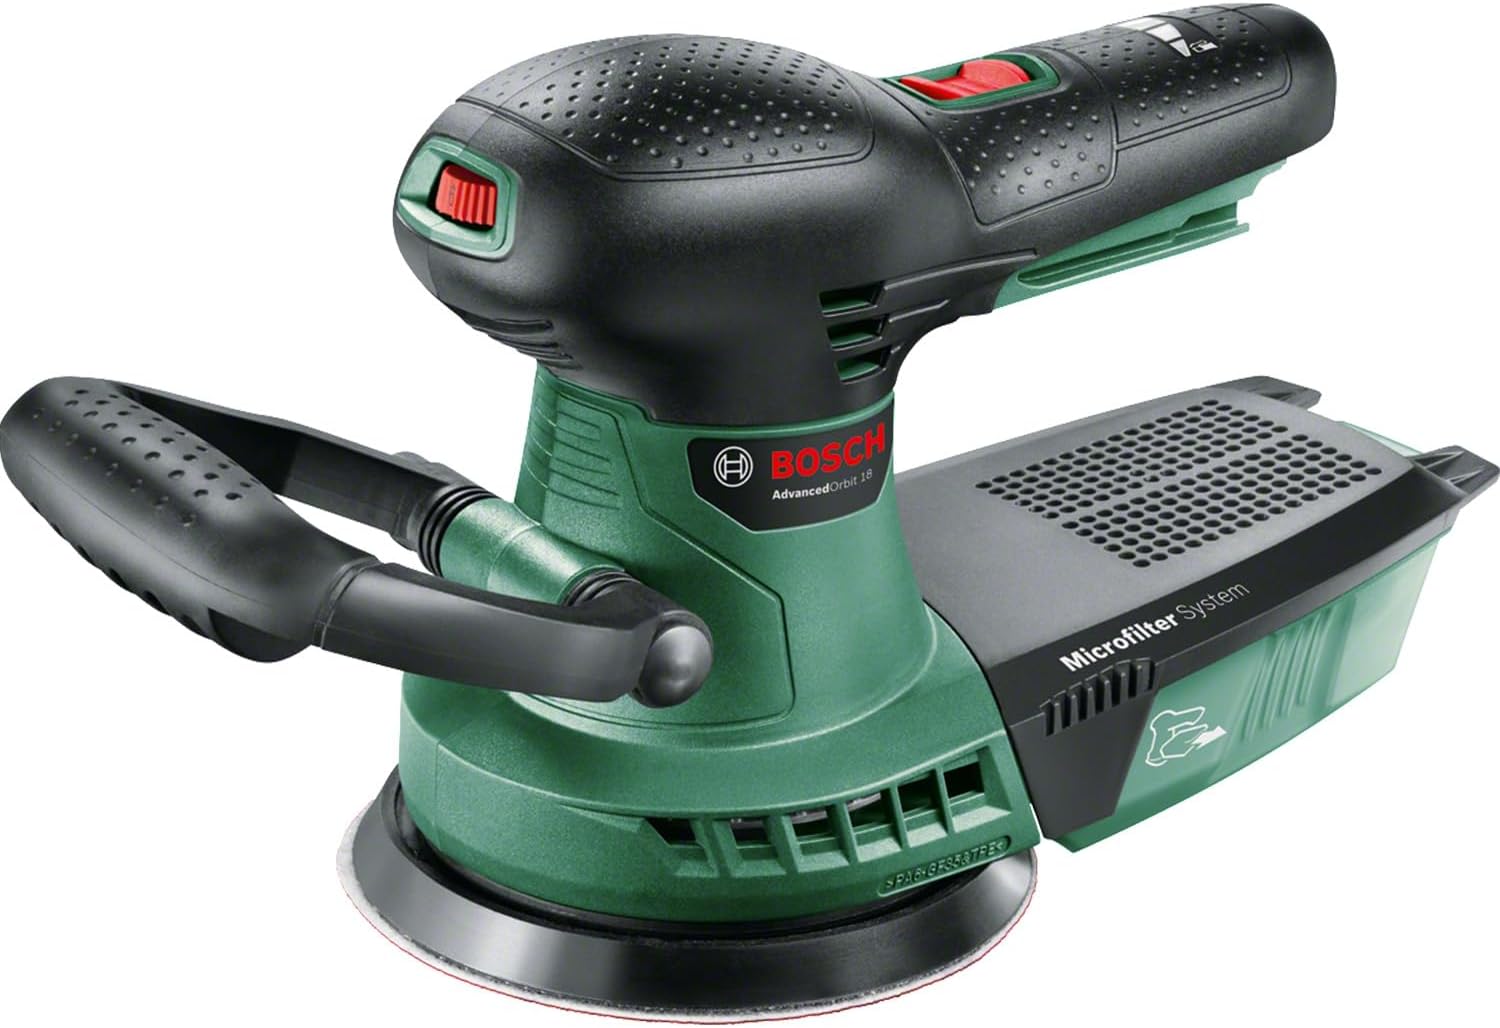
Bosch
Bosch Cordless Orbital Sander AdvancedOrbit 18 (without battery, 18 Volt System, in Carton Packaging)

LDHTHOPI
LDHTHOPI Buffer Polisher, 1600W 7 Inch/6 Inch Rotary Buffer Polisher Waxer, 7 Variable Speed 1000-3500 RPM, Detachable Handle for Car, Boat Sanding, Polishing, Waxing

PORTER-CABLE